Growing Back To My Roots
Lessons from Grandmama's Kitchen Garden
My friends and family continue to be amazed by how quickly I went from killing houseplants to having a full-on garden that provides me with an abundance of herbs and vegetables every year. And, if I can do it, you can do it. It’s pretty easy to get started, and with my easy tips, you will have your own kitchen garden up on running. Before you know it, you’ll be going into your backyard vegetable garden to pull herbs and seasonings for dinner. Vegetable gardening is a growth process. You’ll learn more about yourself and how to tend your garden as each season passes. But, you got to start somewhere, and this is where you start.
Though vegetable gardening is a growth process, you will learn like on-the-job training. Don’t worry about doing anything wrong, just take notes, pay attention, and learn. The first thing to know is that plants want to grow and give you fruit, so if you give it sun, water, and air, your garden will produce. And, you’ll find that in as little as a few seasons, you’ll have your own ideas and strategies you want to try based on your individual experience.
So, let’s do this.
Step 1: Pick the best location

The location of your new kitchen garden is very important. You want to select an area that will give your new garden six to eight hours of full-on sunlight. Most vegetables, fruits, and herbs require plenty of sunlight.
Do a little reconnaissance. Check around your yard space at different times of the day. Where are you getting the most daytime sunlight for the most extended period of time? You might find that there are various areas of your backyard space that receives full daylight but at differing hours. For example, my southside yard gets six-eight hours of direct sunlight in the summer. However, my back fence line that is northeast gets about six to eight hours of daylight, but some of it is in the morning, and some of it is in the evening. This works as well. So, find a great location. If you’re in an apartment and do not have yard space, a balcony and containers will work, as long as the space gets a lot of great sunlight.
Step 2: Love your roots, love your soil
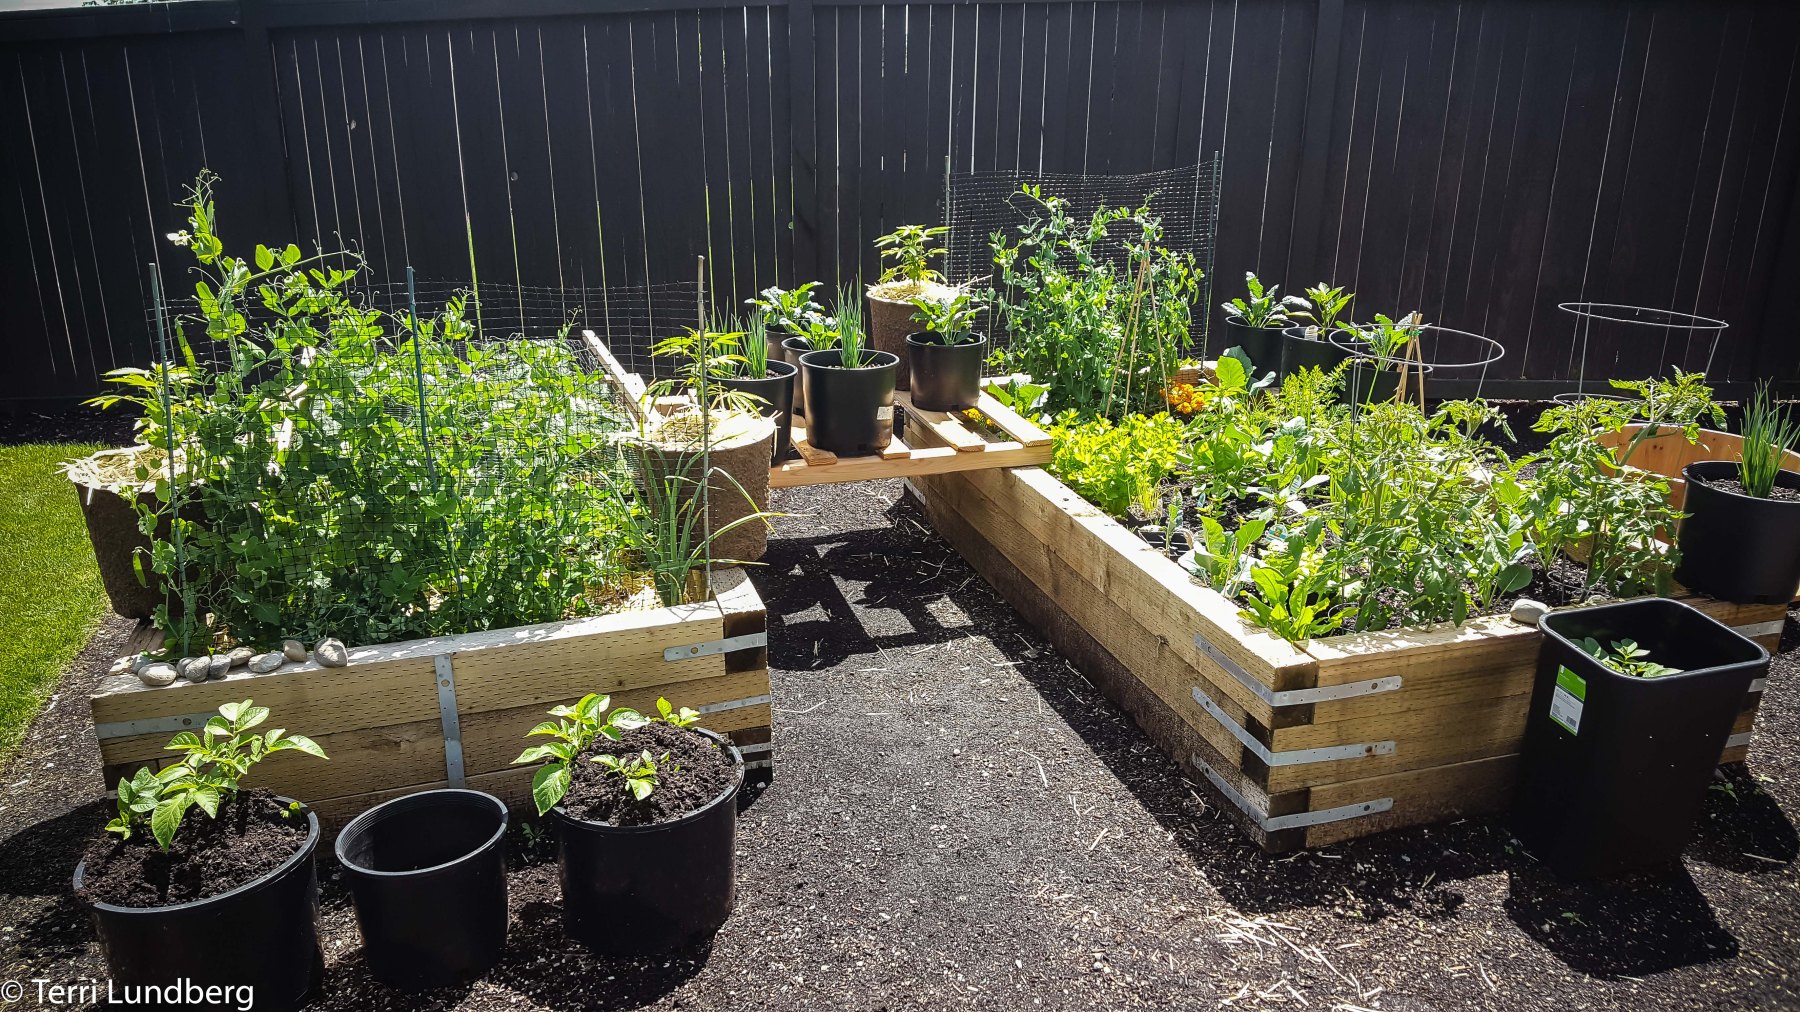
When reading up about soil, it can get somewhat complicated. When the guides started mentioning about PH values, and state-certified soil tests, I was like whoa! But, after much reading and a bit of research, I decided to keep it simple, and that has worked for me. I mix potting soil and compost 50-50. I use a local brand of potting soil by Cedar Grove, and I also use their compost. I mix this 50-50 for new beds or new containers.
I grow in raised beds, in pots, and direct in the ground, but the commonality between them is that I apply fresh compost at the beginning of every season, and amend halfway through the season. This has worked for me.
The next step in loving your roots is giving them a great start with a bit of fertilizer. When I transplant a start to its permanent home for the season, whether in the raised bed, in the ground, or in a container, I add a hand full of Down to Earth Organic Vegetable Garden Fertilizer. This gives those spring plantings a great start and will do them good through the summer months. Between the composting I do and adding fertilizer when I plant, I found this is enough to give me a nice harvest.
Step 3: Select the right plants, then give them what they want

You want to select plants that will grow naturally in your area. I’m in climate zone 8b, in Seattle. If you don’t know which zone you’re in, you can find out using this USDA Hardiness Zone Finder. This is important, especially if you’re growing from seed. Some plants are best planted directly into the soil, and then some plants do quite well being transplanted from starts. The first year I gardened, I used vegetable starts exclusively. Using vegetable starts is a great way to get started gardening without the frustration of seeing your seedlings die off before you can get them outside. There is no shame in using starts.
Additionally, depending on your zone, you may not have the number of days in your growing season to get from seed to harvest unless you’re investing in grow lights or a greenhouse. Which is the case for me with tomato plants. Tomato plants require warm soil, have a 75-day grow cycle from the time it’s sown into the ground. Also, temps do not rise about 50 in the evenings until late May, so I’m pushing it, and if the plant doesn’t start fruiting until mid-August, for my area, that’s late. For these reasons, tomato starts work best for me. On the other hand, I grow my beans, peas, potatoes, carrots, herbs, and more from seeds. It depends. But, the point is, grow what works best in your region. Your local nursery probably only carries veggie starts that work for your region, so that’s always a great place to start.
When you purchase your plants, it states right on the plant tag all that you need to know to take care of the plant; sunlight, plant spacing, and water requirements. Please do not overstuff the plants. Just because there is a space there doesn’t mean you need to put a plant there. The biggest thing I see with new gardeners is that they want to place plants too close together.
It’s easy to get excited when you see all that there is to grow. However, I recommend starting small and leveling up each season as you learn and grow as a gardener. It’s better to have a small garden that is bountiful than a big garden that has run amok. The minute it becomes work, you lose all of the fun.
Step 4: Feed them water
I have read differing views on watering. I’ve read water once a week, but water deep. I’ve read water every single day to keep the soil evenly and consistently moist. So, what’s working for me? It depends on the plant and the weather. But starting out the season, I keep my watering regimen the same. Then in August, when it gets really hot, I water just a little bit more because the temps are higher and the plants are fruiting.
In my raised beds, I have a slow drip irrigation system. It comes on twice a day for about 10 minutes each time. That seems to work. I string those drip lines over whatever I’m growing in the containers, which seems to work for those plants as well. The containers that are not hooked up with the irrigation I water once a day, in the mornings, until I see water coming out of the bottom. That’s it. The thing about hand watering is that it can be relaxing, and it’s a great time to check for pests and pull a few weeds.
Step 5: Tend to your garden
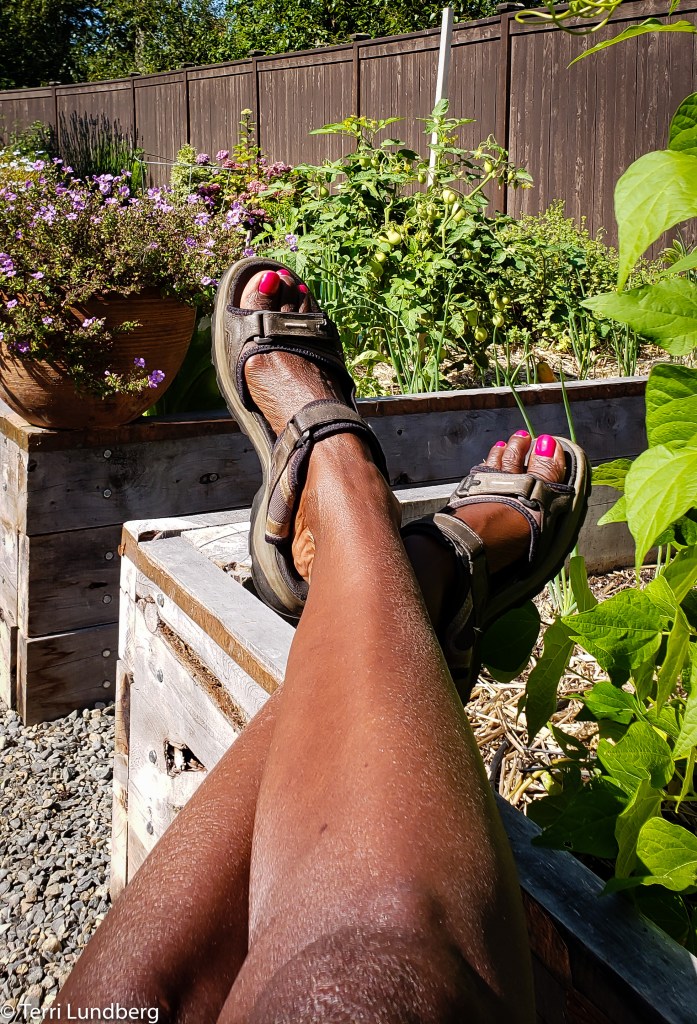
This means tending your gardening. I go into my garden every day. The exception might be if it’s raining. But, I never let two days go by without walking the garden. Your vegetable garden will not wait on you for anything. Nature is fair that way. This is a true case of you reap what you sow. The time spent in the garden is returned thrice fold in the harvest.
The Final Step: Don’t beat yourself up
Just like growing vegetables, you will grow as a gardener with each season that passes. Are you new to gardening? What do you most want to grow? Leave me a comment below and let me know.
Until next time, happy gardening!

Congratulations on your exquisite garden! I have heard from others about the challenges of gardening in the relatively, wet cool climate of the Pacific Northwest, so kudos on that too! I haven’t grown anything edible in my sun-drenched yard in Wilmington DE in over 10 years because of frequent travel and an energy-sapping job. Neither of those are an issue now, so I should probably get crackin. Thanks for the inspiration!
LikeLike
Hello Lyrae,
Thanks for stopping by. Trust me, no one is more surprised than me that I’ve been successful with my garden. I think if you provide the right environment to the right plants, you will find success. And, in a lot of ways, I’m just the facilitator. Mother nature is providing the air and the sun.
~Terri
LikeLike
Terri,
I had never heard of the USDA Hardiness Zone Finder prior to your post, but picking the right seeds and soil for where you live makes sense. This is such a great tool for the beginner gardener to learn about what makes sense to plant. I actually feel like I don’t need years of experience as a farmer to have some success with a first garden. Appreciate the tips!
LikeLike
Hello Tara,
No. You don’t need years of experience. You just need to desire for some great tasting tomatoes. 🙂
Thanks for stopping by!
Terri
LikeLike
Hi Terri,
Awesome blog! I just love your blog post on starting a kitchen garden. I love the link to the USDA Zone finder but as a new gardener I would have appreciated a link to the slow deep irrigation that you mentioned, as well as the research on PH value. Thanks for the tips.
LikeLike
Thanks for stopping by I appreciate your comments.
~Terri
LikeLike
Up here between zone 5 and 6 we are garden fanatics 🙂 I have learned over the many years to grow only what I love eating all the time but if my garden does good this year I think I will freeze all I can for our long winters. Wishing you perfect growing weather.
LikeLike
Thank you Eunice for stopping by. It’s true what you state. When I first year I started gardening I would grow something just to see if I could. It would always end up in the compost bucket. That’s when I decided to get it together and focused. LOL This year I plan to double the amount of green beans that I plant with the intentions of freezing. Maybe I should triple up? 🤔 That would take away space for tomatoes. I have to think on that one. Happy gardening!
LikeLiked by 1 person
lol My beans are up 4 inches here on the seacoast and so far 4 tomatoes in we must have them for salads and BLT’s. I have 2 kinds of peas and will do more as summer ends for stews those I will blanch and freeze with this virus we may need to prepare. Stay safe and enjoy your Memorial Day weekend.
LikeLiked by 1 person